Preparation Process
To prepare for your CopperTree service and ensure a quick and easy installation please complete and return the Onboarding Packet provided by your CopperTree account representative.
Detailed Instructions
Setting up a CopperTree User
The following configuration steps outline how to configure a Read-Only user with access to the EcoStruxure Web Services (SOAP API). The process can also be followed via the enterprise server for multiple Automation Server (AS) configurations. It is recommended that local users be added to each AS, with Path assignments that limit the local users’ scope of visibility to the individual AS. The following is for configuring a single or multiple AS with EcoStruxure workstation, if you do not have EcoStruxure workstation, follow the web panel configuration instructions instead.
Login
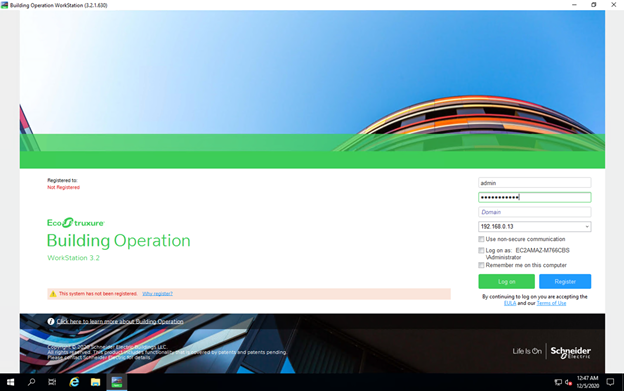
1. Open EcoStruxure Workstation, and connect to the Enterprise Server or an individual AS with an admin-level username and password. If you are connecting to the enterprise server, repeat the following steps for each AS.
Configure Ecostruxure Web Services
The images below are from an individual AS, following this process on the enterprise server may look different but will provide all the same options.
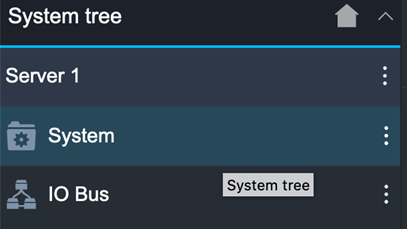
If Ecostruxure Web Services is already configured, skip to Group Configuration (Step 10).2. Using the navigation tree on the left, select the system folder.
3. Scroll down to the EcoStruxure Web Services folder.

4. Select EWS Server Configuration, in the left-hand navigation pane.
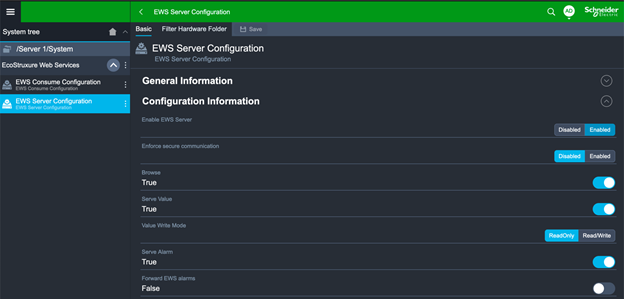
5. Enable “Enable EWS Server” if not already Enabled.
6. Confirm that Browse = True.
7. Confirm that Serve Value = True.
8. Value Write Mode can be set to ReadOnly or ReadWrite based on your system requirements, CopperTree will only read data either way.
9. Save Changes if any, by clicking “save” at the top of the page.
Group Configuration
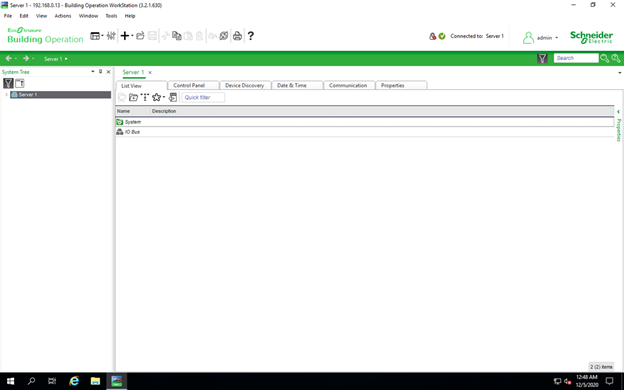
10. Select the target AS hosting the data for the project. If the project Building is served by multiple AS’ each one will need to be set up, if the project scope only covers a specific portion of a building, like a central plant, only the AS hosting the central plant will need to be set up.
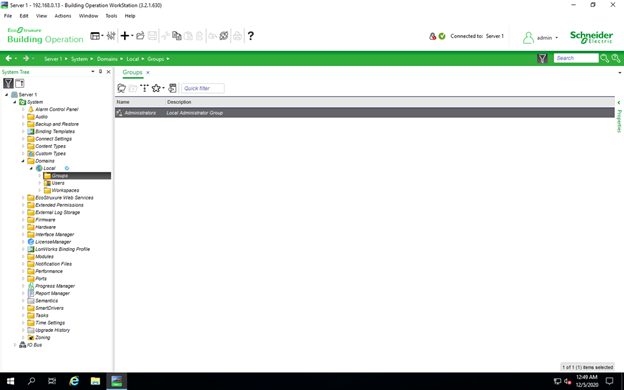
11. Under “System” navigate to Groups.
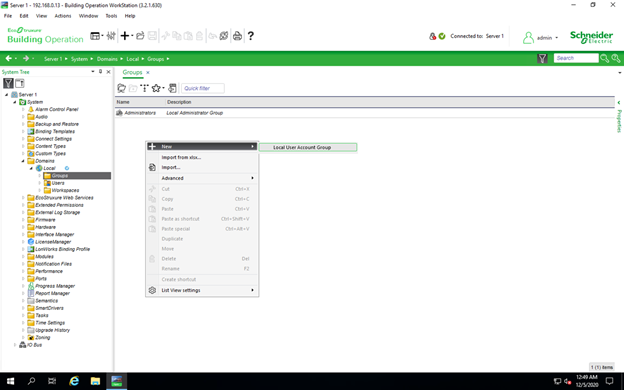
12. Right-Click and Select New→Local User Account Group.
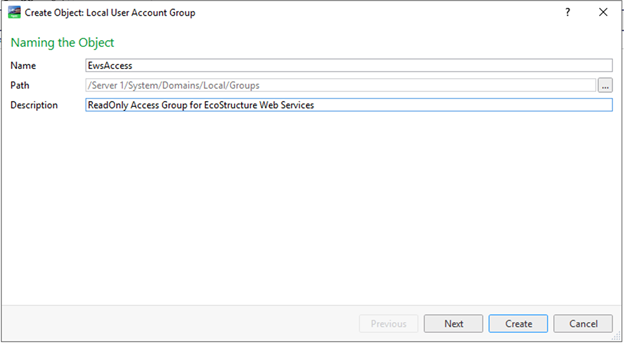
13. Name the Group, filling out the Description is optional(Suggestion: EWSAccess). Click Create.
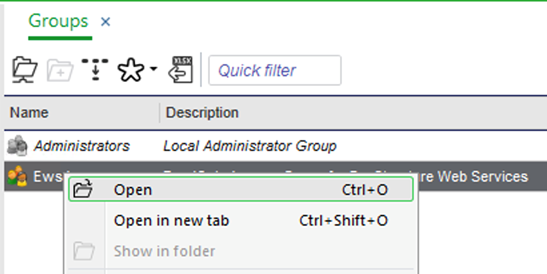
14. A new Group will appear in the list, right-click on the group and select “Open”.
15. Under the Permissions, The Path: Permissions will be empty, Click the “+” button in the top right.
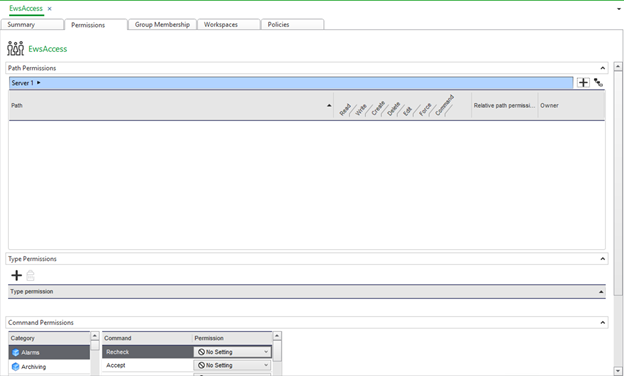
16. The default “Root” path will appear in the list.
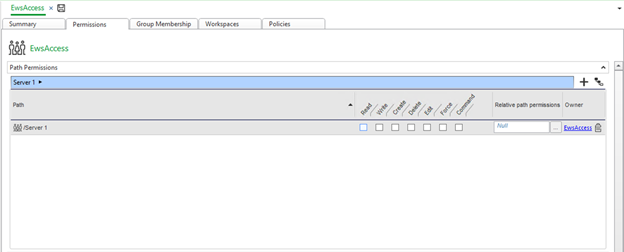
17. Click “Read”, This provides read-only access to the AS.
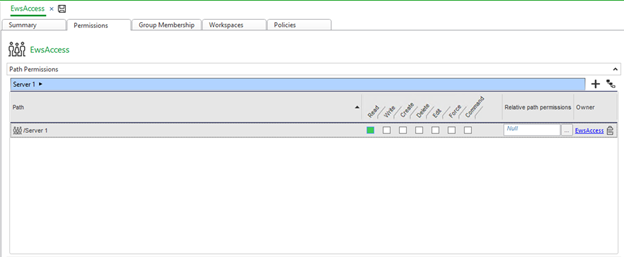
18. Click the Save Button.

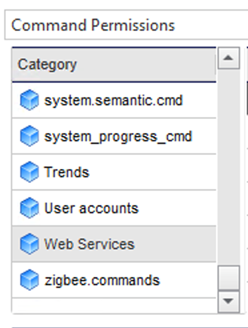
19. Navigate down to the Command Permissions section.
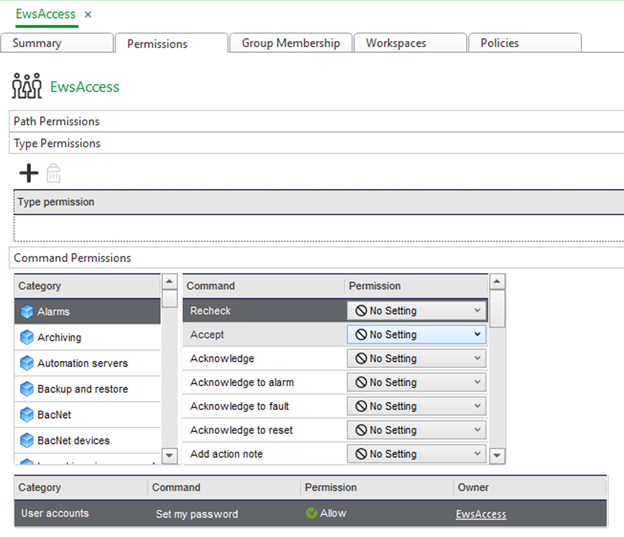
20. Under Category, scroll to the very bottom, and select Web Services.
21. Under Host EWS Objects, Change the Permission to “Allow”.
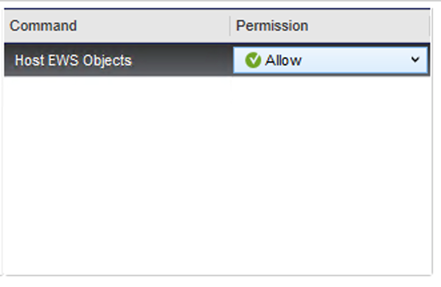
22. The Web Services Command Permission will appear in the list below.

23. Click the Save Button.

User Configuration
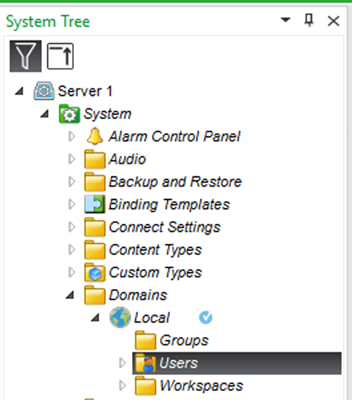
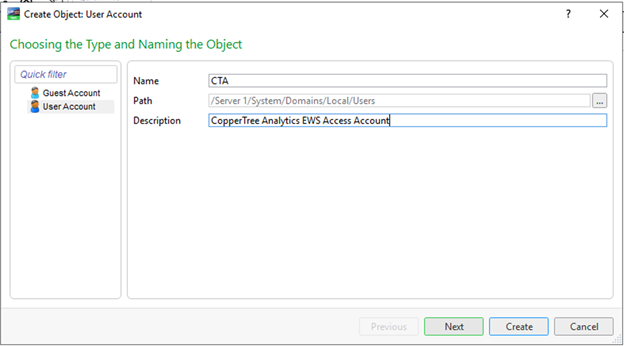
24. Under the System Tree, Navigate to Users.
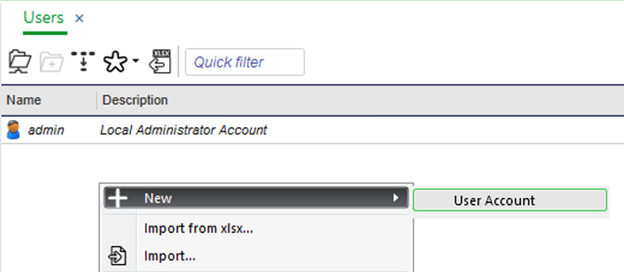
25. Right-Click and Select New→User Account.
26. Name the User, Description optional(Suggestion: CTA). Click “Next”.
27. Fill in First Name, Work Email optional, enter a password. Contact Customer Solutions at [email protected] for further details.

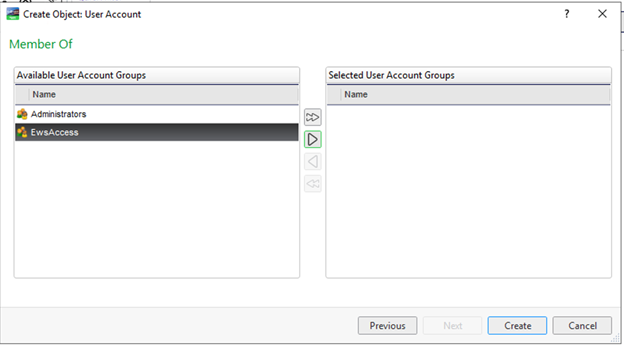
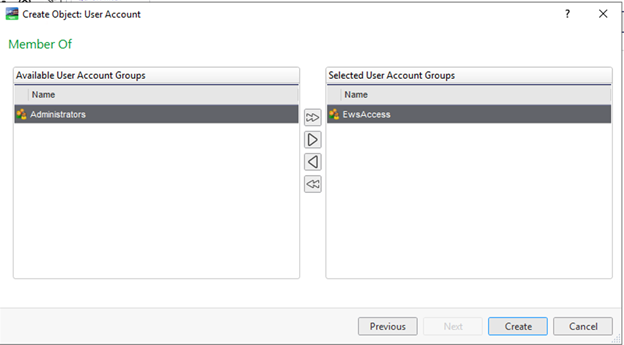
28. Select the EWSAccess group and click the right arrow.
29. Click Create.
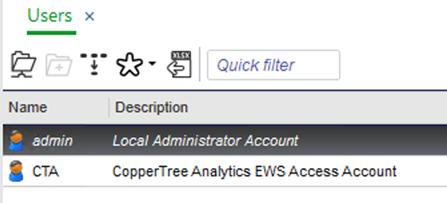
30. The New User will be listed.
31. On the far right, click on properties to expand the properties panel.

32. Select the CTA user, and set “Password Never Expires” to True, under configuration Settings.
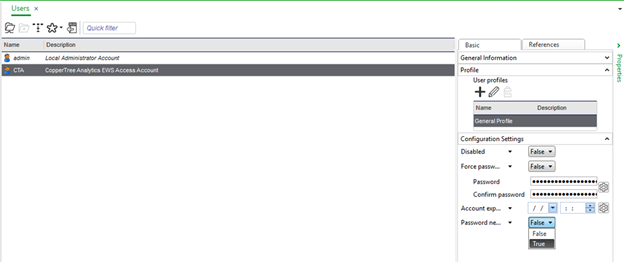
33. At the top menu, click the save icon.

34. Repeat steps 2 through 25 for each Automation Server.
Note: CopperTree will need the IP Address of each Automation Server for discovery. If the IP information needs to be collected; it can be retrieved from the “Properties→Network” Tab at the root level of each AS.

