The Connector registry page can be used to view the Devices and Connectors on site and add new Connectors.
When a new Connector is deployed on-site, it must be registered on Kaizen and mapped to the buildings it is deployed to.
Pre-requisites
The client and the building that the Connector is being deployed to must exist on Kaizen before creating and adding a new Connector. Click here for instructions to add a client.
Procedure
The following steps detail how to add a new Connector:
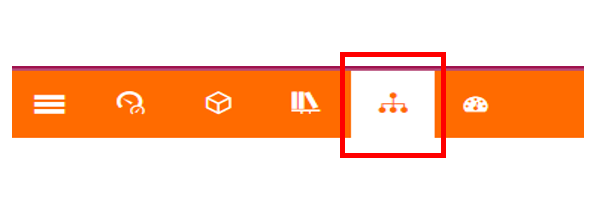
- Navigate to the Connector Registry page by clicking on the K-Link icon in the top left corner.
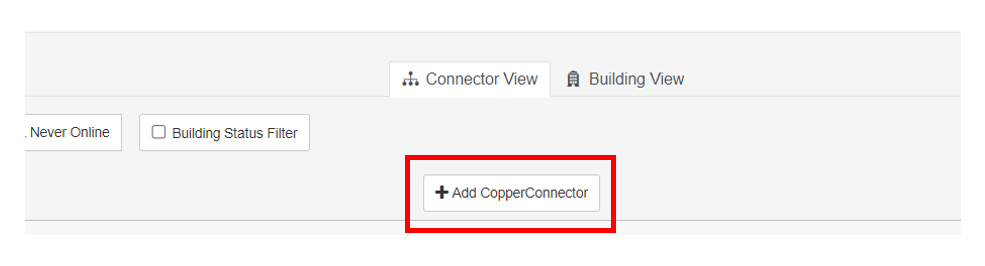
- Click on the “Add Connector” button on the registry page. On clicking this button a pop-up page will open, where the Connector details can be filled out.
- The form for adding a new Connector opens up. The fields with red asterisks are mandatory fields that must be filled out in order to add a new Connector.
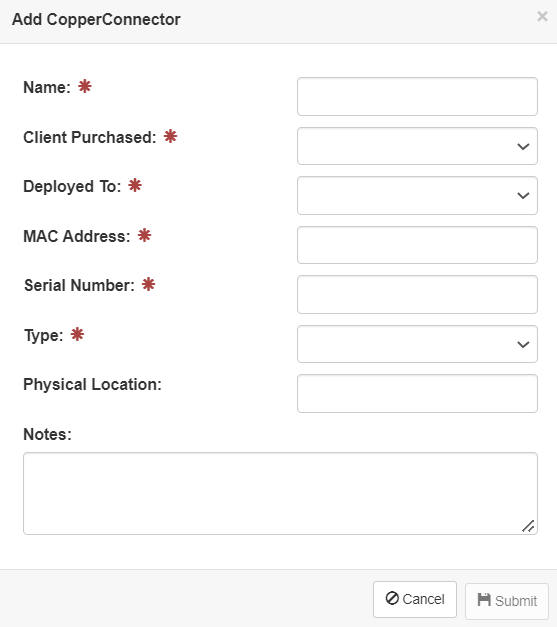
- Name: Add a name for the Connector. This can be used to search for the Connector and appear as the “Connector Name” on the registry page.
- Client Purchased: The client to which the Connector belongs. This is a drop-down list and the client must be selected from the list. If the client is not on the list, check if the client has buildings under it. This field must be selected before proceeding to the following field.
- Deployed To: Select the building from the drop-down field. The Connector status will appear on the dashboard of the building selected here.
- MAC address: This is the 12-digit hexadecimal number. The alphabet should be in lowercase for the mapping to work.
- Serial Number: This should be present on the device. If the Serial Number is not present on the device, contact customer solutions at [email protected].
- Type: This is the type of Connector present. Connectors can fall into one of 4 categories:
- K-Link: Select this field if a K-Link was deployed onsite.
- Self Service Connector: Select this field if you are using a self-configured Connector
- Cloud Connector: Select this field if APIs or SQLs or other cloud-based services push data to Kaizen
- CopperCube: Select this if using a CopperCube. If this field is selected, the “Size” field will appear. Fill out the appropriate size for CopperCube.
- Physical Location: This is not a mandatory field but can be filled out to keep track of where the cube is physically present.
- Notes: Use this field to add any additional information. This information will appear in the K-Link Info widget on the device registry page.
- Click on submit. This will create a new Connector. You can query for this Connector on the search bar by its name, the custom ID created by Kaizen, the client, or the building deployed on the registry page. Alternatively, the dashboard of the building that the Connector was added to, can be used to navigate to the Connector page.
Next Steps
Map the Connector to buildings by following the steps here.
