In order for data to be sent to its correct location on the Kaizen server after a Connector has been added using the steps here, the device ranges corresponding to the building need to be specified. This can be done by using the steps outlined below.
Pre-requisites
Buildings must be added to the client and the Connector must be registered.
Procedure
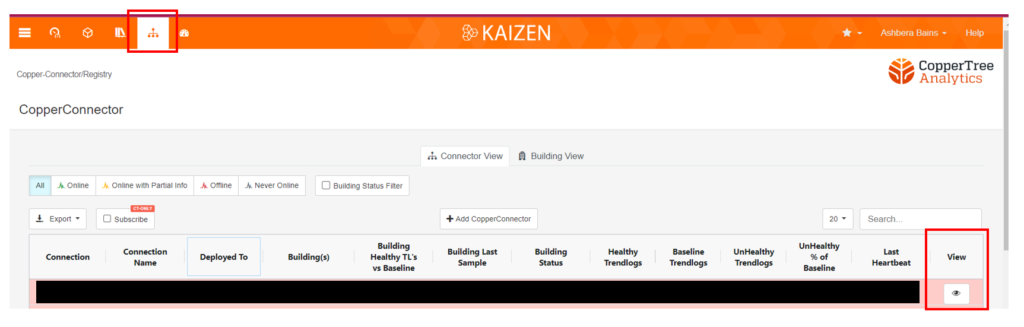
- Navigate to the Connector Registry Page for the device. This can be done by clicking the data collection device status on the building dashboard that the device was mapped to.

Or by clicking on the K-Link icon on the top left corner of the page and clicking on the view button next to the Connector you would want to map to buildings.
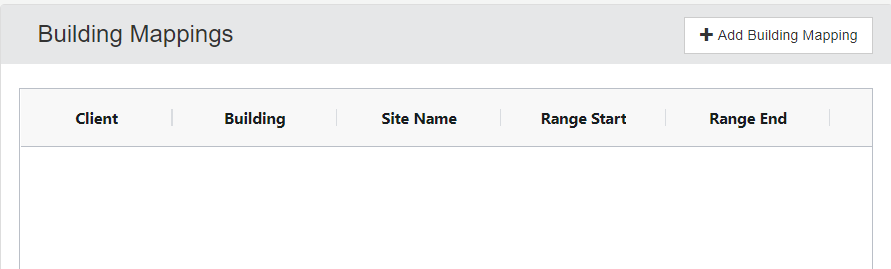
- The details of the Connector should show up. Scroll down to the Building Mapping widget and click “Add Building Mappings”.
- The Building Mapping form pops up.
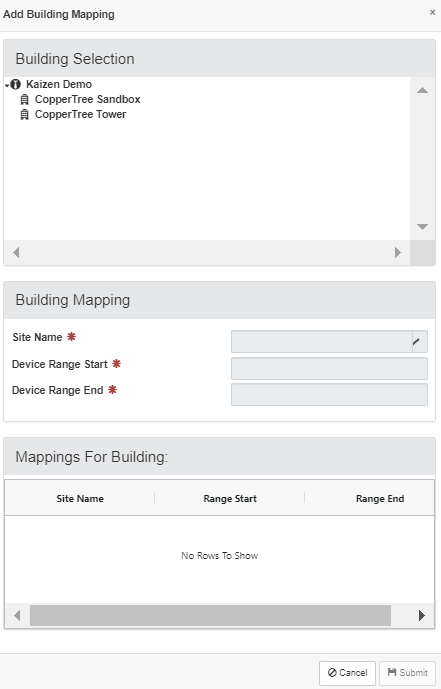
- Building Selection: This section shows all the available locations to which the connector can be mapped. Click on the building you want to map to. This section should be completed before proceeding to the next section
- Building Mapping: Fill this section with the site and range from which the device should read. The site name and ranges are mandatory fields and must be filled out to submit the form.
- Mappings For Building: This section shows the pre-existing mappings on the site.
- Click Submit.
The building mapping is created. The data is now configured to be pushed to Kaizen.
